
We love Plesk here at RocketWP, it’s our control panel of choice and every site we host is powered by Plesk. It’s simple to use and has some great features for designers and developers, in particular WordPress developers and designers. In this post I am going to walk you through creating a staging site and show you how to then copy the data back once you’ve made the changes.
Step 1 – Create a staging site
To start the process, log in to Plesk and then find your domain. You will be able to see the Clone button next to the name of the WordPress installation, in this case “My Website”.

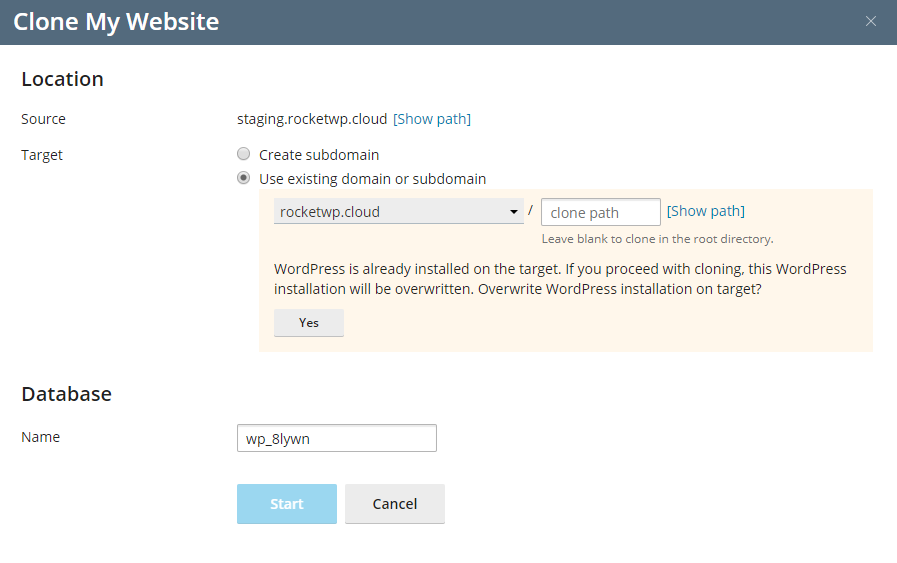
Plesk will automatically configure the settings as shown below. You can select any domain on the server, if the site already contains a WordPress site it will automatically include a sub folder to install it. Unless you need to change these settings just leave them as is.

Once you are happy with the settings just click start. The process is relatively quick, unless you have a large site.
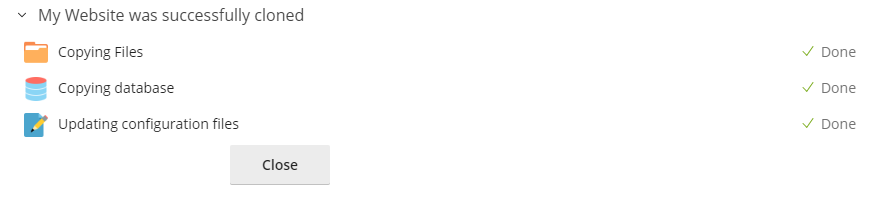
That’s it, click Close! The staging site is now ready for you to edit, update and carry out any testing. Plesk will automatically set Search Indexing to off so Google and other search engines will not try to index the staging site.
Step 2 – Cloning the staging site to the live site
Once you’re happy with all the changes you’ve made to the staging site, the customer has signed off the design or the updates have worked without issue it’s time to copy the changes back to the live site.
You now have 2 options; if the live site is a static site and no changes will have been made you can simply clone the site – this will overwrite the live site with the staging site. Just select the live domain, remove the sub folder and confirm that you want to overwrite the site.
If you know that there will or could have been changes made to the live site then you need to use the Copy Data Option. The copy data option allows you to be more selective with what data gets copied over:
- Files only
- Files & Database
- Database only
It also allows you to select the tables that you want copied over. By default the posts and user tables are excluded. However you are free to select the tables from the list.

Once you are happy with the settings just click start. By default a restore point will be created, just in case there are issues.
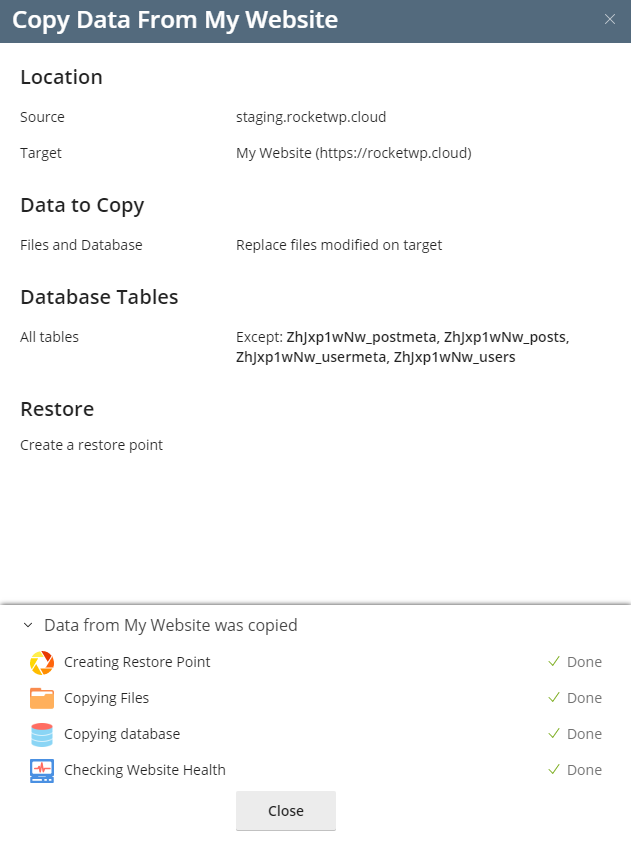
Once complete click close. The live site will now have the changes that were made to the staging site but any posts, pages, user details or other data that you excluded from the database will not have been overwritten. Note: if the changes that you made on the staging site modified any of the tables you excluded these will not have been copied over.
What if you’re not using Plesk?
If you’re not using Plesk you can use the WP Stage Coach service or the All In One WP Migration plugin to migrate your websites. To find out more click on the buttons below to find out more:
RocketWP Agency Support Service includes a staging server where we do all the work for you. Find out more, book your FREE consultation today, just click the button below to book now or to find out more:


